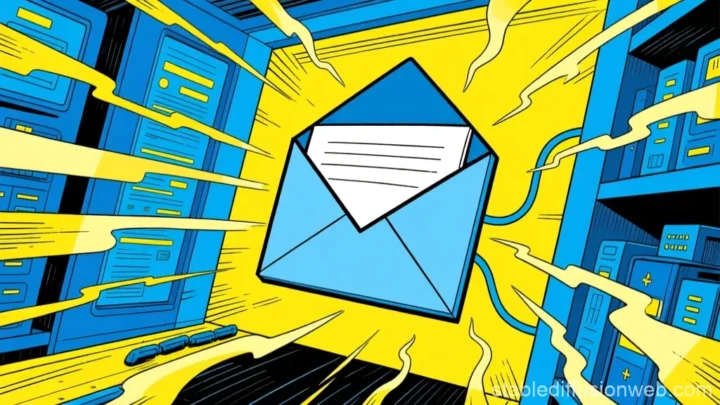
Having an email address with your own domain, such as [email protected], not only gives your business a more professional image, but also allows you to have greater control over message delivery and security. However, for that email to work properly, it’s not enough to simply create it in your hosting service or on a platform like Google Workspace or Zoho Mail—you also need to configure the appropriate DNS records so the internet knows where to deliver your messages and which servers are authorized to send them.
In this first part, we’ll review the basic records that every domain must have to properly handle email, starting with MX records and other essential settings that ensure your messages arrive without issues.
The MX (Mail Exchange) record is the most important element in a domain’s email configuration, as it tells the internet which server should receive emails sent to your address. In other words, when someone emails [email protected], the MX record tells the sender’s server where that message should be delivered.
Each domain can have one or multiple MX records, and each one points to a mail server with a specific priority (the lower the number, the higher the priority). If the primary server is unavailable, the next one on the list will handle incoming messages.
For example, if you use Google Workspace, your MX records would look like this:
ASPMX.L.GOOGLE.COM. priority 1
ALT1.ASPMX.L.GOOGLE.COM. priority 5
ALT2.ASPMX.L.GOOGLE.COM. priority 5
ALT3.ASPMX.L.GOOGLE.COM. priority 10
ALT4.ASPMX.L.GOOGLE.COM. priority 10
If you use Zoho Mail instead, the set would look something like:
mx.zoho.com. priority 10
mx2.zoho.com. priority 20
mx3.zoho.com. priority 50
And if you prefer to use your hosting provider’s email service, you’ll usually have a single record such as:
mail.yourdomain.com. priority 10
In all cases, the MX record is created in your domain’s DNS zone, typically from your provider’s control panel (such as Cloudflare, GoDaddy, or Namecheap).
A very common mistake is having multiple MX records active from different providers (for example, one from Google and another from your hosting provider). This can cause lost or rejected emails. Only the records of the service that actually manages your email should remain active.
Finally, you can verify that your records are configured correctly using tools such as MXToolbox or your email provider’s built-in diagnostic tools.
In addition to MX records, most email services will ask you to add complementary DNS records. These records do not directly handle mail flow, but they are essential for verifying domain ownership and ensuring messages are sent and received correctly.
The most common is the TXT verification record. This record is provided by platforms such as Google Workspace, Zoho Mail, Outlook, or other external SMTP services. Its purpose is simple: to prove that you own the domain. For example:
Google Workspace may provide something like:
google-site-verification=abc123xyz
Zoho Mail might request:
zoho-verification=zb12345678
After adding it, the service checks the DNS record and, if it matches, activates your domain for sending and receiving email.
Another complementary record is the CNAME record, used in some cases for authentication or to enable additional features (for example, link tracking or auto-configuration). An example would be:
selector._domainkey.yourdomain.com → selector.domainkey.zoho.com
This links one of your subdomains to the email provider to validate the authenticity of your messages (although this already touches on DKIM configuration, which we will cover in the second part).
It’s also important to check whether your provider requires an additional A or CNAME record for the subdomain mail.yourdomain.com, as some services use it to access webmail or the SMTP server.
With these basic records—MX, verification TXT, and in some cases CNAME—your domain will be properly configured to send and receive email without issues. However, this is only the first step. Even if your messages reach their destination, there is still a key aspect left: ensuring they don’t end up in the spam folder and that mail servers recognize your messages as legitimate.
To achieve this, you need to implement authentication records such as SPF, DKIM, and DMARC, which act as an additional layer of security and trust. In the second part of this guide, I’ll explain how to configure them step by step, what each one does, and how to verify that everything is working correctly.